


Building an At-Home Sleep Lab, Part II; Testing the Faraday Cage

When I set out to build a fully-functioning Sleep Lab in my childhood bedroom, I knew that there would be some challenges. Ironically, none of the pitfalls so far have come in the forms I expected! Here are some updates on building a discount Faraday cage, along with some narrations on the comedy of errors it’s taken to get us here.
Where We Left Off
On the previous episode of “Building an At-Home Sleep Lab on a Budget”, I gave the initial run-down of my three main objectives for the Faraday cage: build a continuous metal box to sleep in, make sure it has air holes, and do it without spending an exorbitant amount of money. Specialized Faraday material is expensive, and since I’m fresh out of PhD school, finding discount alternatives was critical.
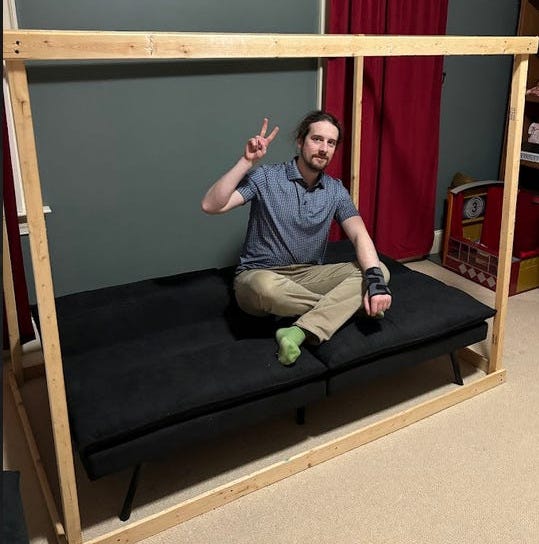
After a day or two of brainstorming and building, we had a wooden frame with lauan sheets (super-thin plywood) added to a few sides for structural stability. We plopped a sleeper-couch inside, and planned to use aluminum flashing and insect screening to create a noise-free interior for EEG recording. I closed the last article with the overly hopeful conclusion that in a week or so, we should have the cage up and running with test data in hand.
Ah, the sweet naivety of youth!
Insect Screen: Good in Theory, Not Practice
I mentioned before that my aluminum flashing was lost in the mail, but that didn’t concern me at the time. The insect screen had arrived on time, and per my schematics, we could get that mounted to the wooden frame first. We’d just tack on the flashing when it arrived, and secure it directly to the wood over top of the mesh to get a solid metal-metal contact.
Now, if you’ve worked with insect screens, you probably know that screens don’t tend to look metallic. In fact, every single screen I’ve ever seen on porches or windows have had a black coating of unknown nature. Upon popping open the box, I discovered that my “Aluminum Insect Screen for Super Tiny Insects” was precisely this sort of coated screen. Instead of plain aluminum, this stuff had a black coating that is decidedly not metal. Apparently if you want the screen to even look like it’s metallic, you need to order the ‘brite’ variety. However, most of the brite screens advertised that they have a protective coating too, which is ironic since the non-brite ones didn’t advertise that they’re coated!
Long story short, the insect screen turned out to be a bust as a budget Faraday mesh.
Moving on… where did that flashing end up?
After a few weeks had passed, I still couldn’t get any information concerning the fate of my aluminum flashing. However, since the insect screen didn’t work, I was going to need about twice as much flashing to cover the full cage. I ordered another roll of flashing through a different seller, and sure enough, it arrived without hassle a few days later. Finally, we could start working on the cage exterior!
Working with aluminum flashing is tricky. I imagine there are tools specifically for this, but I just used a pair of scissors, a pair of gloves, and my hands. It took the better part of an afternoon and some assistance from family, but we got the whole 50 foot roll wrapped around the box. We used foam floor pads between the carpet and cage bottom, and then another set of foam pads on top of the aluminum below the couch legs to avoid tearing the base metal.
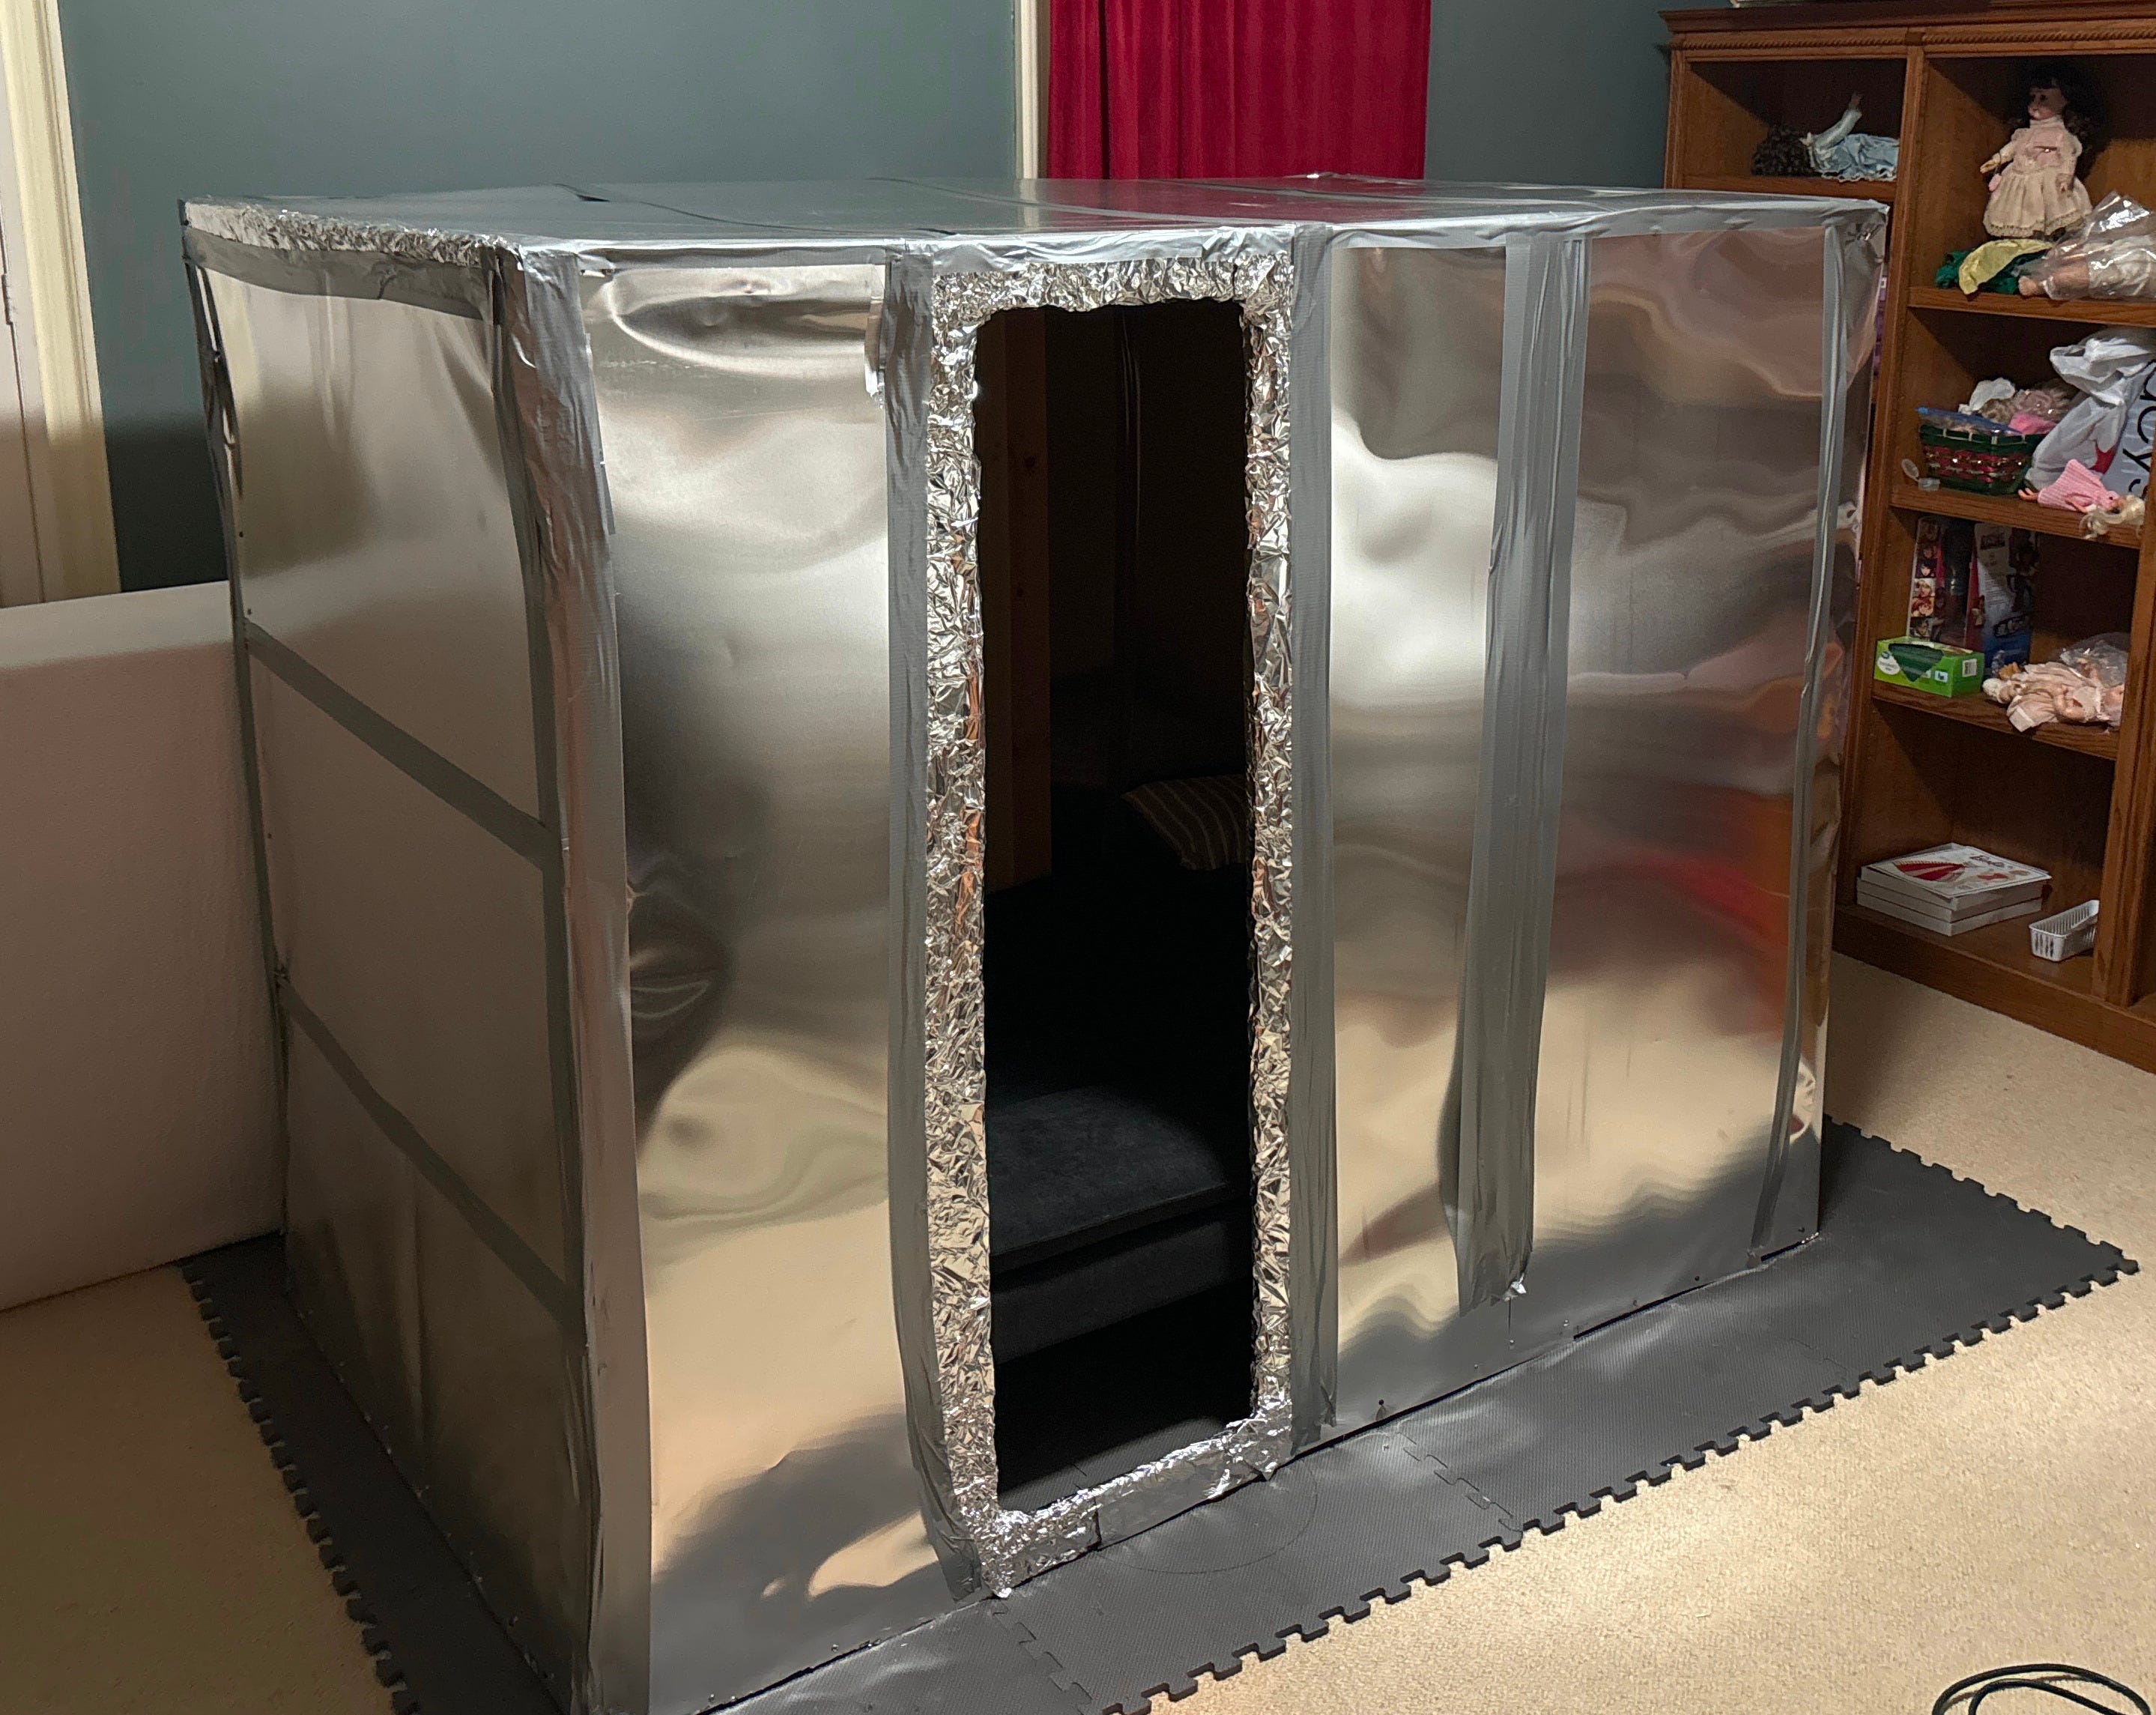
At this point, it was apparent that we needed that second roll of flashing to finish covering the whole thing. And, irony of ironies, this was when I got a phone call from a neighbor who had received the flashing weeks ago by mistake. We were back in business and once we added the second roll of metal, the finished prototype looked much fancier than the bare wooden frame.
At Long Last: Did it Work??
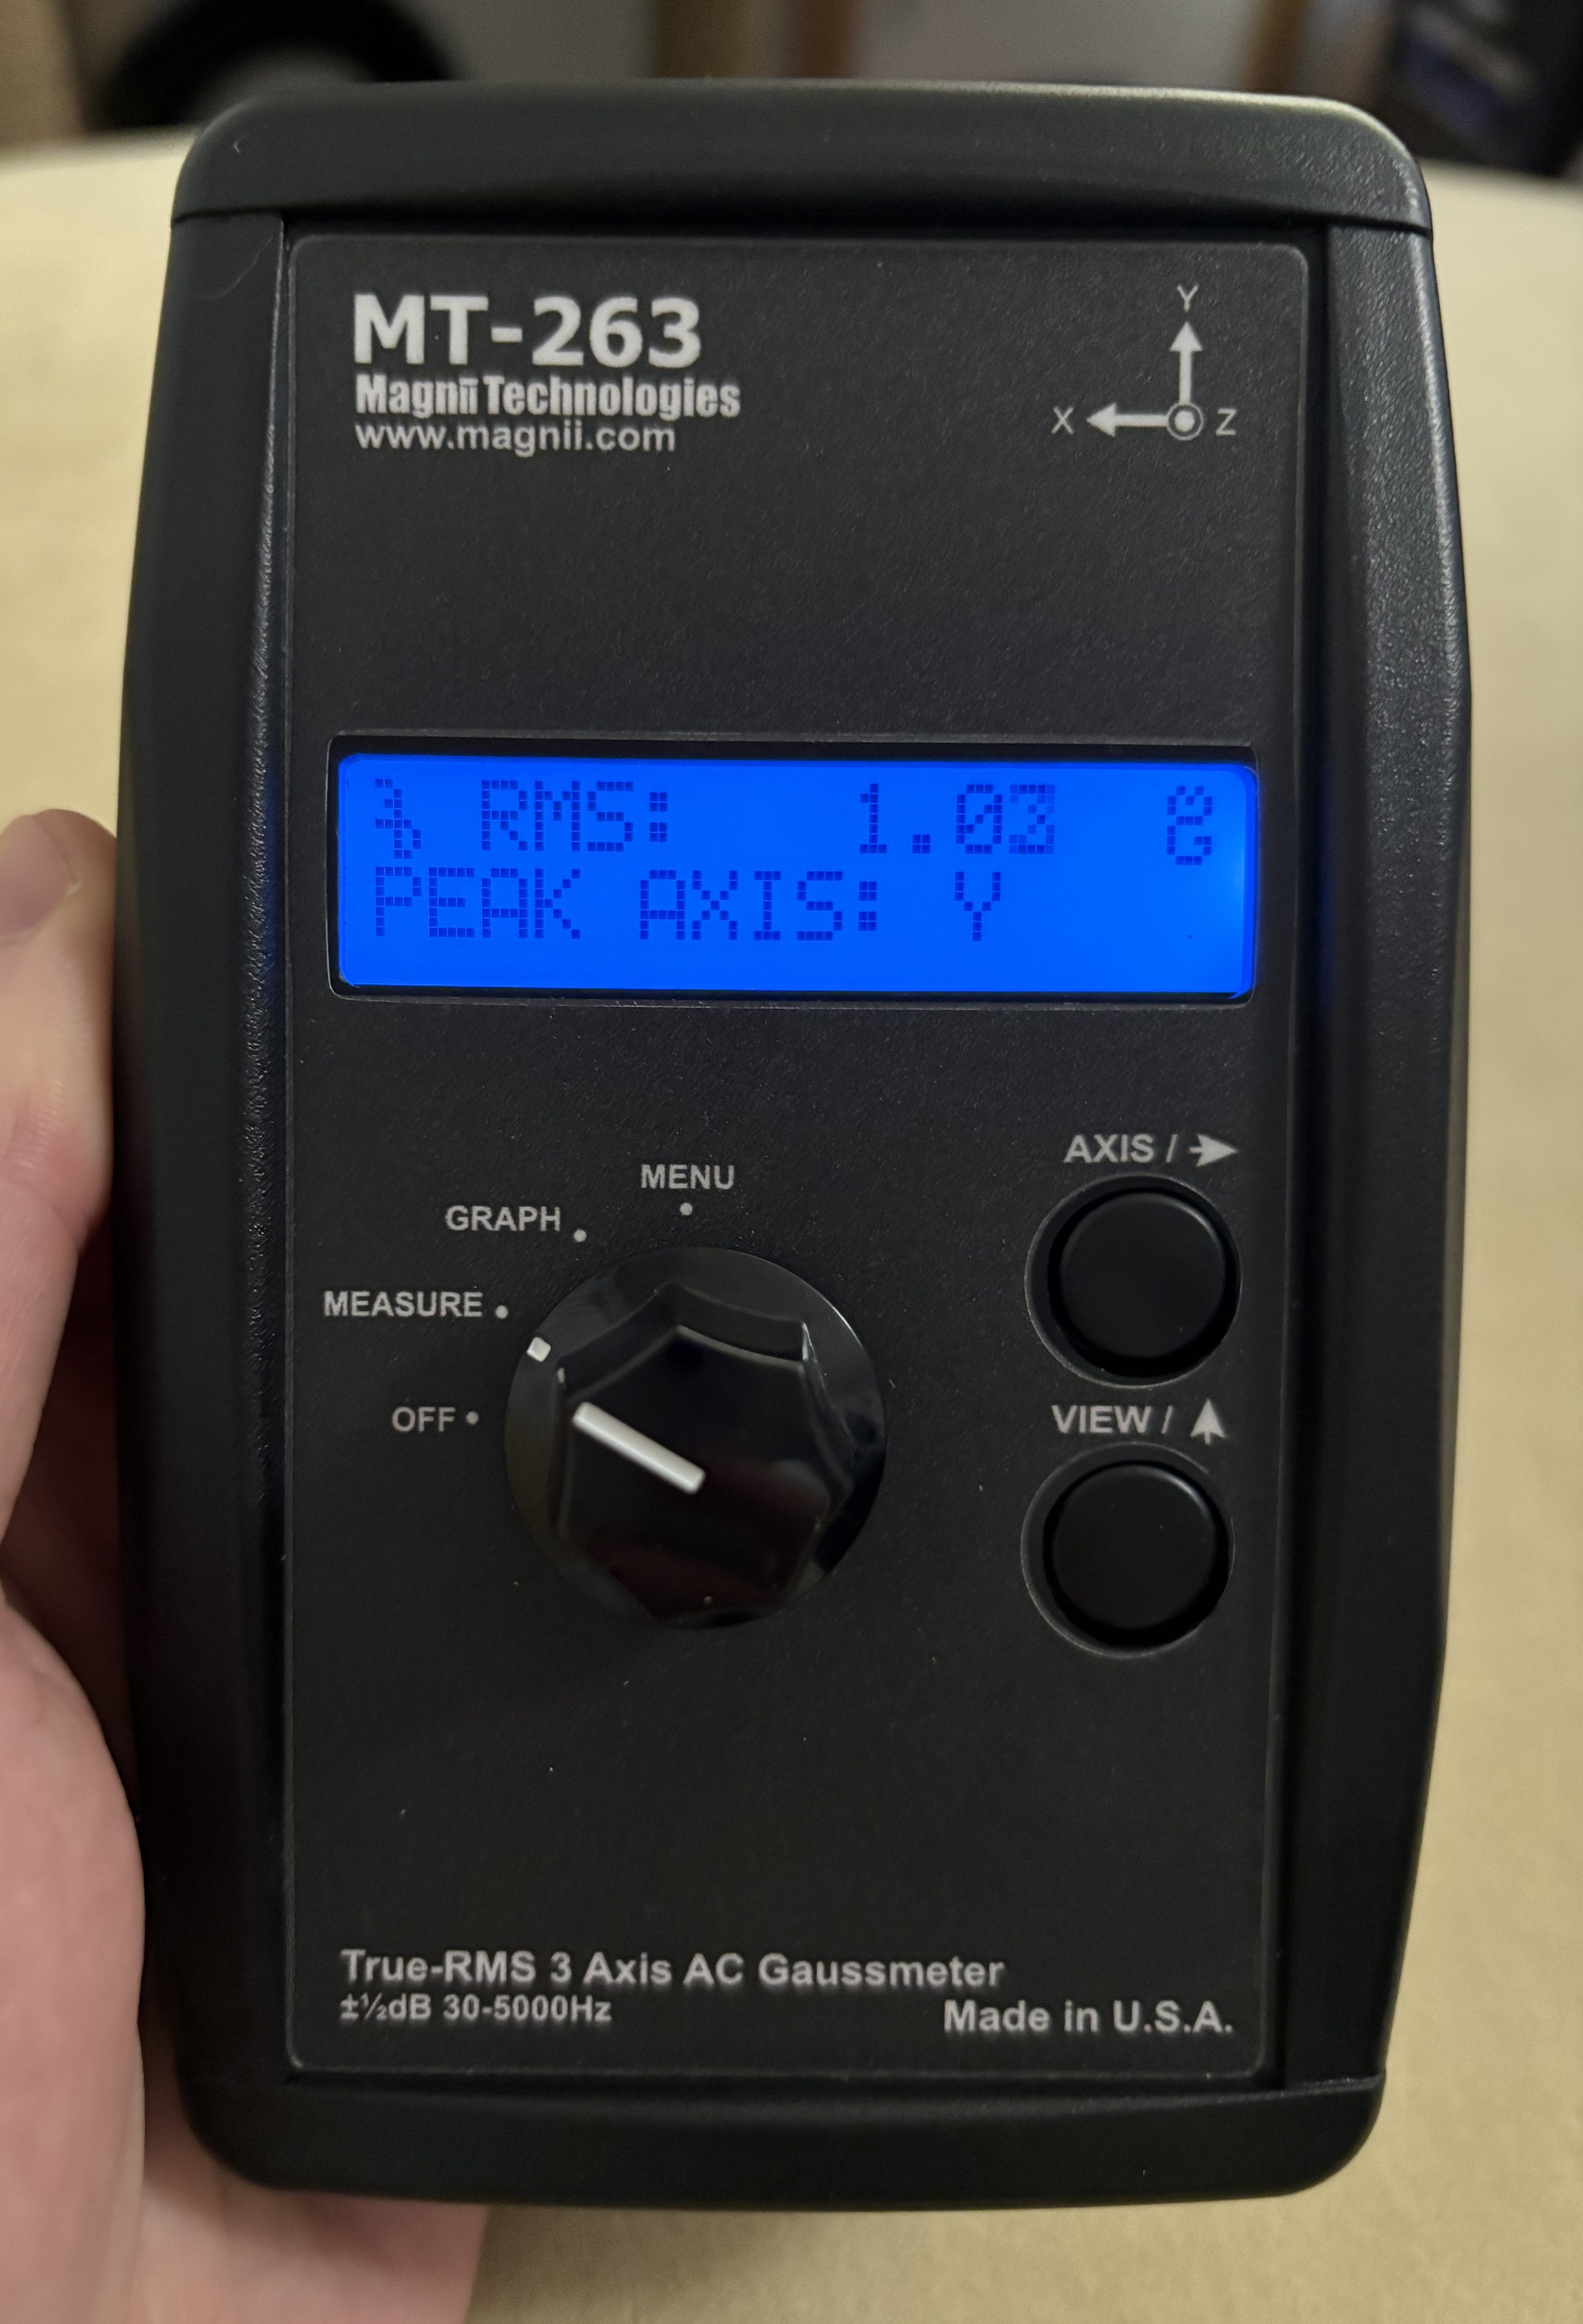
In order to test that the Faraday cage was indeed blocking electromagnetic noise, I ordered a guass meter. This is basically a Geiger counter, but instead of detecting radiation, it detects electromagnetic fields (EMFs). If the cage worked, we should see lower EMF readings inside the cage than outside, which would indicate that we’ve successfully made an EEG-friendly zone.
(The gauss meter had a multiweek back-order with the manufacturer, adding another layer of ‘life-happens’ to the project.)
Fast forward to last night, and we finally had all the components. Gauss meter in hand, I crawled inside the cage and gave the order to have the door sealed with aluminum foil from the outside. (This could be seen as a design flaw, but we’ll fix it in post). After so many months of mostly waiting, we finally came to the moment of truth. Was our budget Faraday cage able to successfully block passive EMFs?
Nope. Not even close.
I can’t use my phone to take a photo of the gauss meter recording in the cage, since the phone’s presence would bias the EMF measurement. So for now you’ll just need to take my word that the measurement inside the cage was exactly the same as outside. However, the reason for this is apparent. From the inside of the cage, light trickled in around various corners and edges, revealing that we had not managed to make continuous contact around the whole thing. This is almost certainly due to our lack of experience working with flashing, and will be easily mitigated with more aluminum.
To close out, here’s how you exit a metal box with no door:

—
Thanks for reading, and hopefully at the next update we’ll have those bugs worked out!
Patrick Seebold, PhD